Installing Miniforge on Mac
Miniforge is a lightweight Python distribution available for all operating systems. It is free to use, requires a minimal amount of software setup, and has a community-driven package repository.
Installation
Visit the conda-forge website and click on the “Download Installer” button.

There will be two options to select from for Macs, “Apple Silicon” or “Intel”:

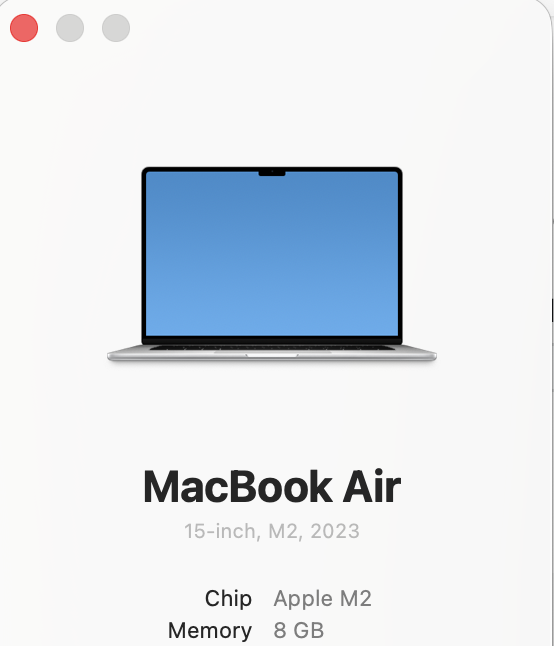
If you’re not sure which version, click on the Apple icon in the upper-left corner of the screen and select “About This Mac”. If it has
Appleby the “Processor” or “Chip” entry, then selectApple Siliconoption. If it showsIntelunder “Processor” or “Chip”, then pick thex86_64 option. This guide uses an Apple computer with an Apple M-type chip, soApple Siliconis the correct download option.
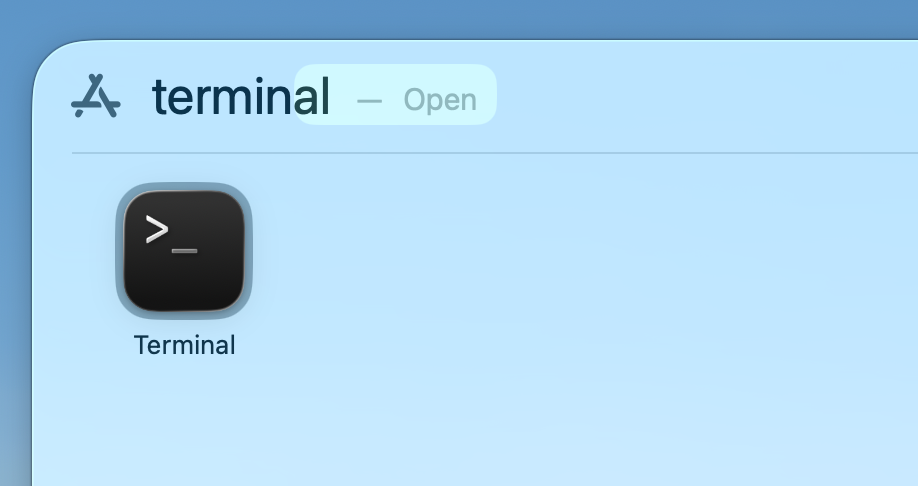
After downloading of the installation script, we now need to run it. Open up Spotlight and type in
Terminalto launch the terminal application.
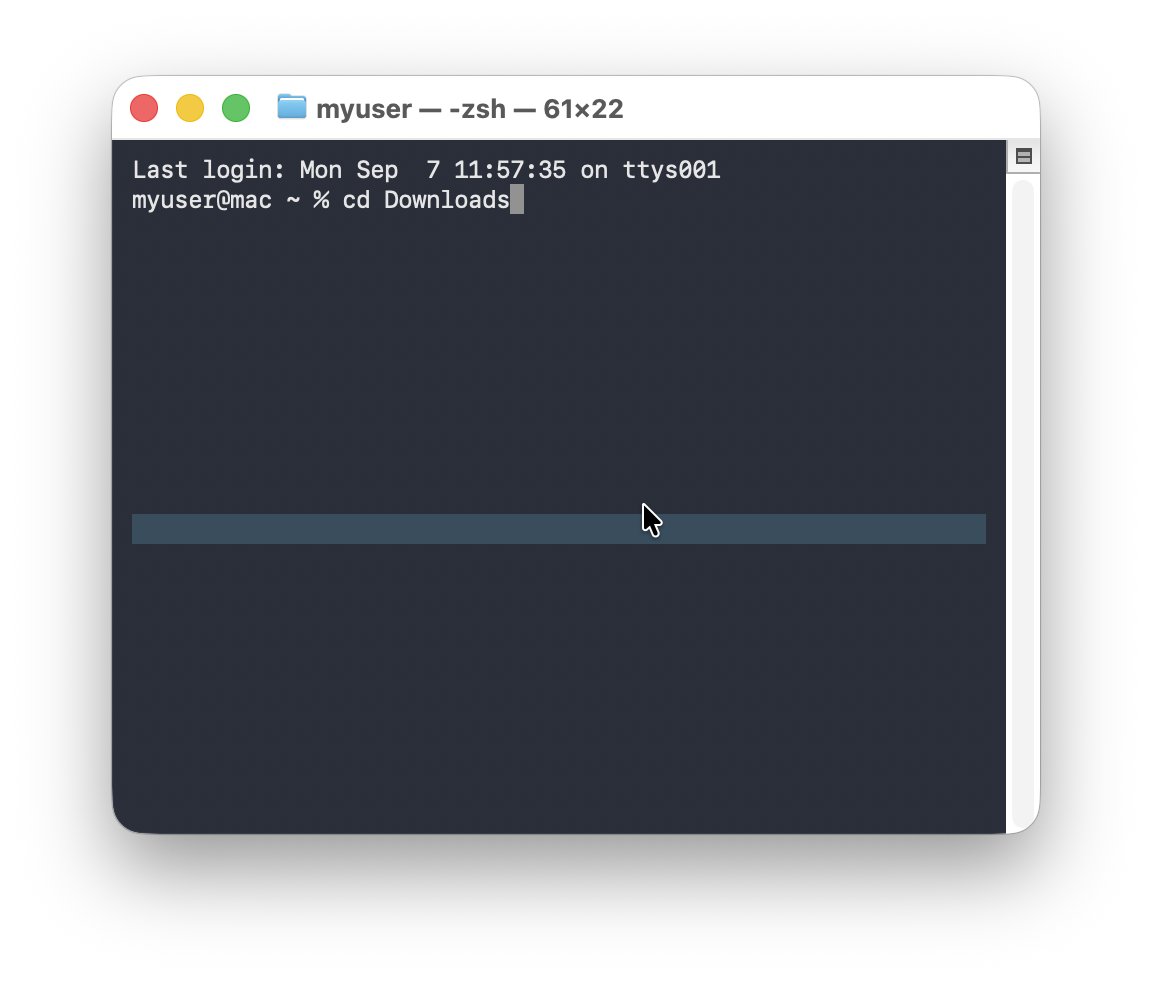
Navigate to your Downloads folder with the
cdcommand:
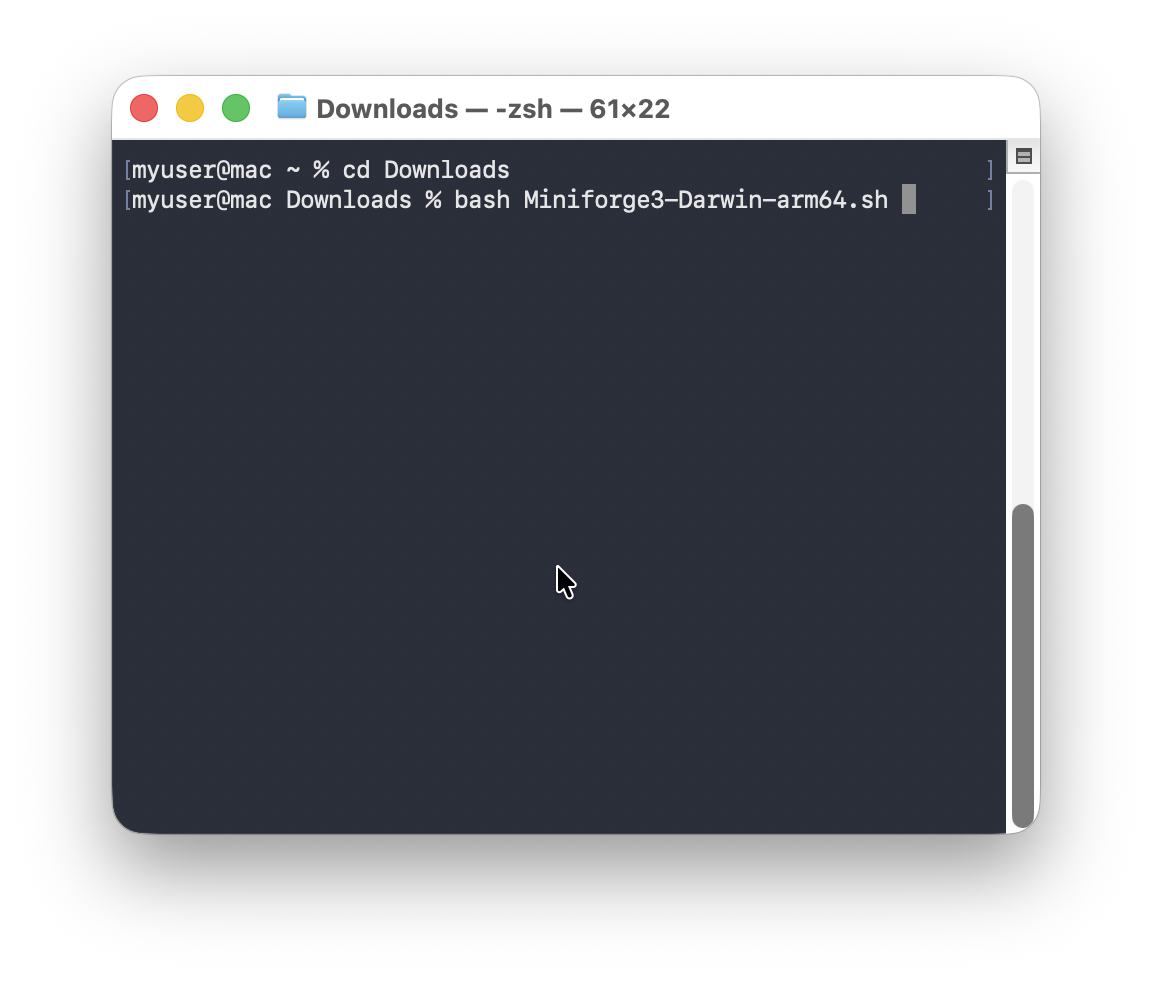
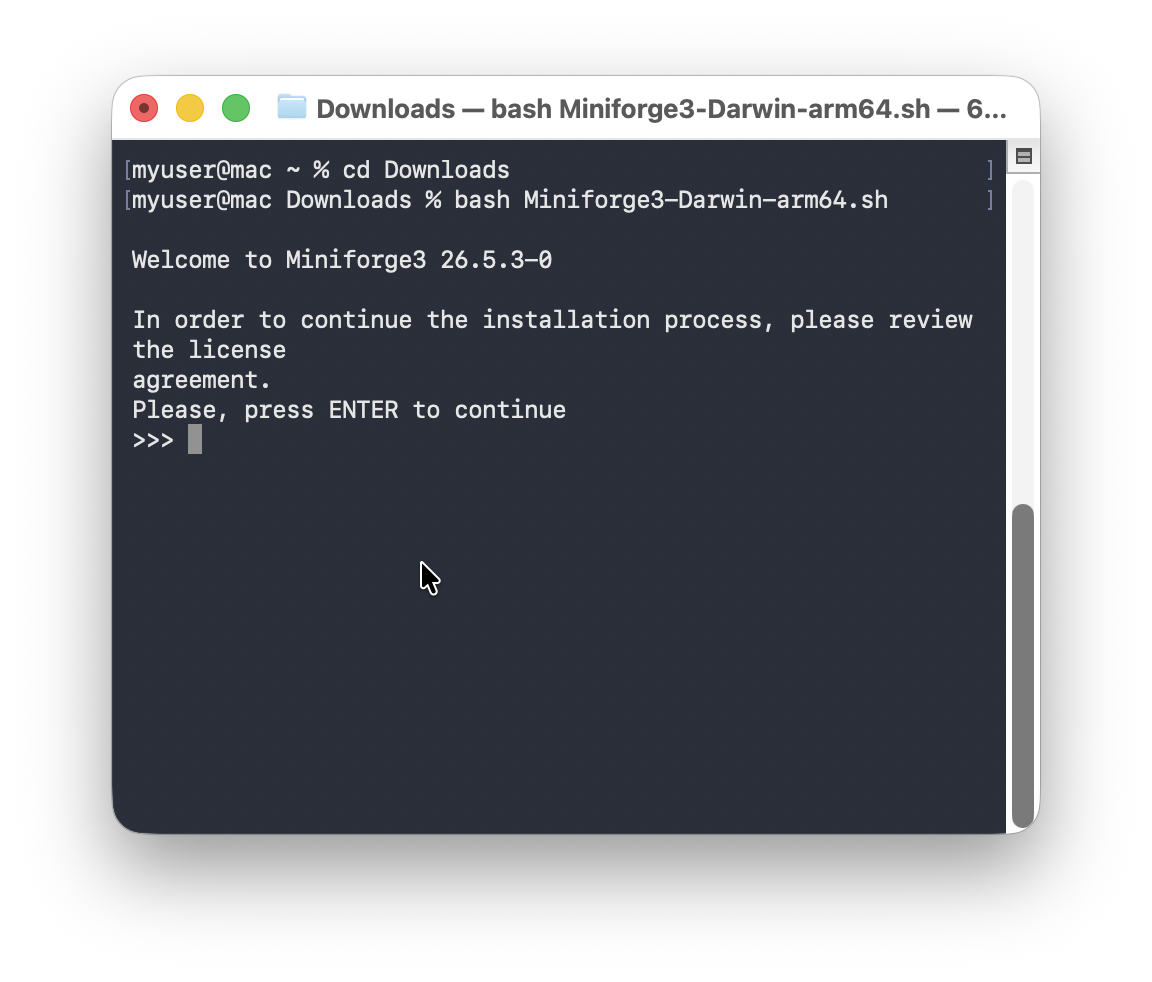
Run the installer script (replace the filename with the one you downloaded):
Press ENTER to review the license agreement and press SPACE to scroll through the license.
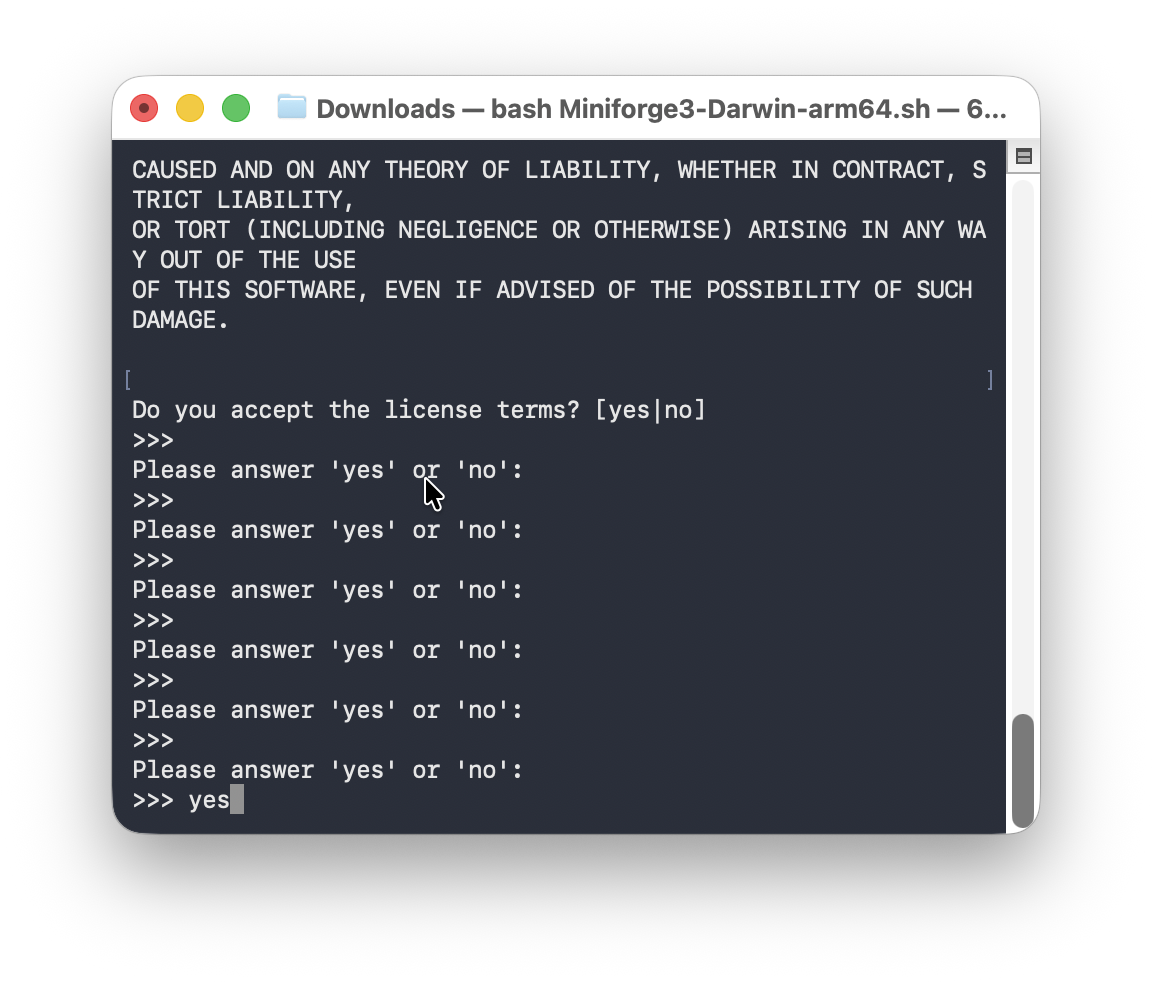
After reaching the end of the license type
yesin the terminal to accept.
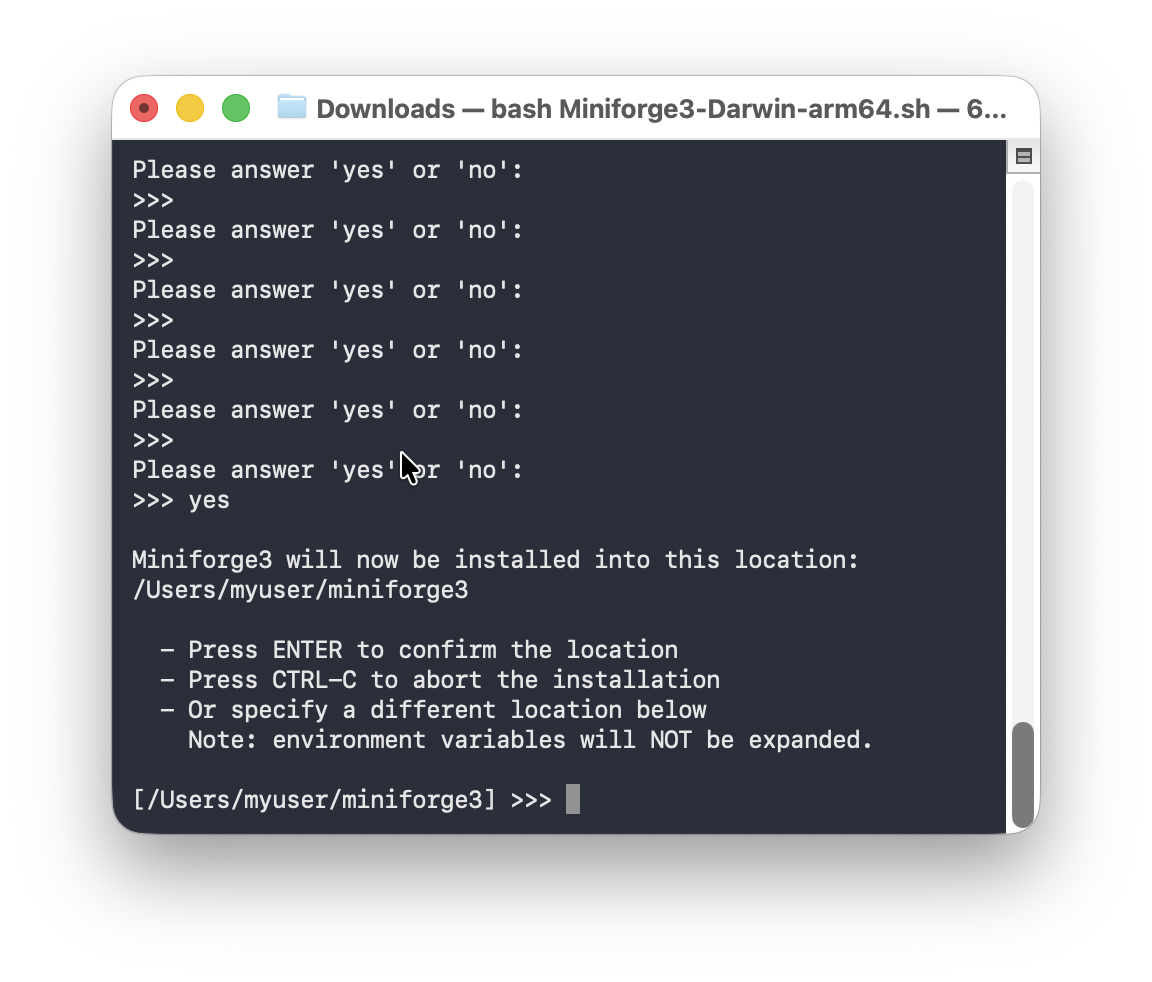
Press ENTER to confirm the default install location in your home folder.
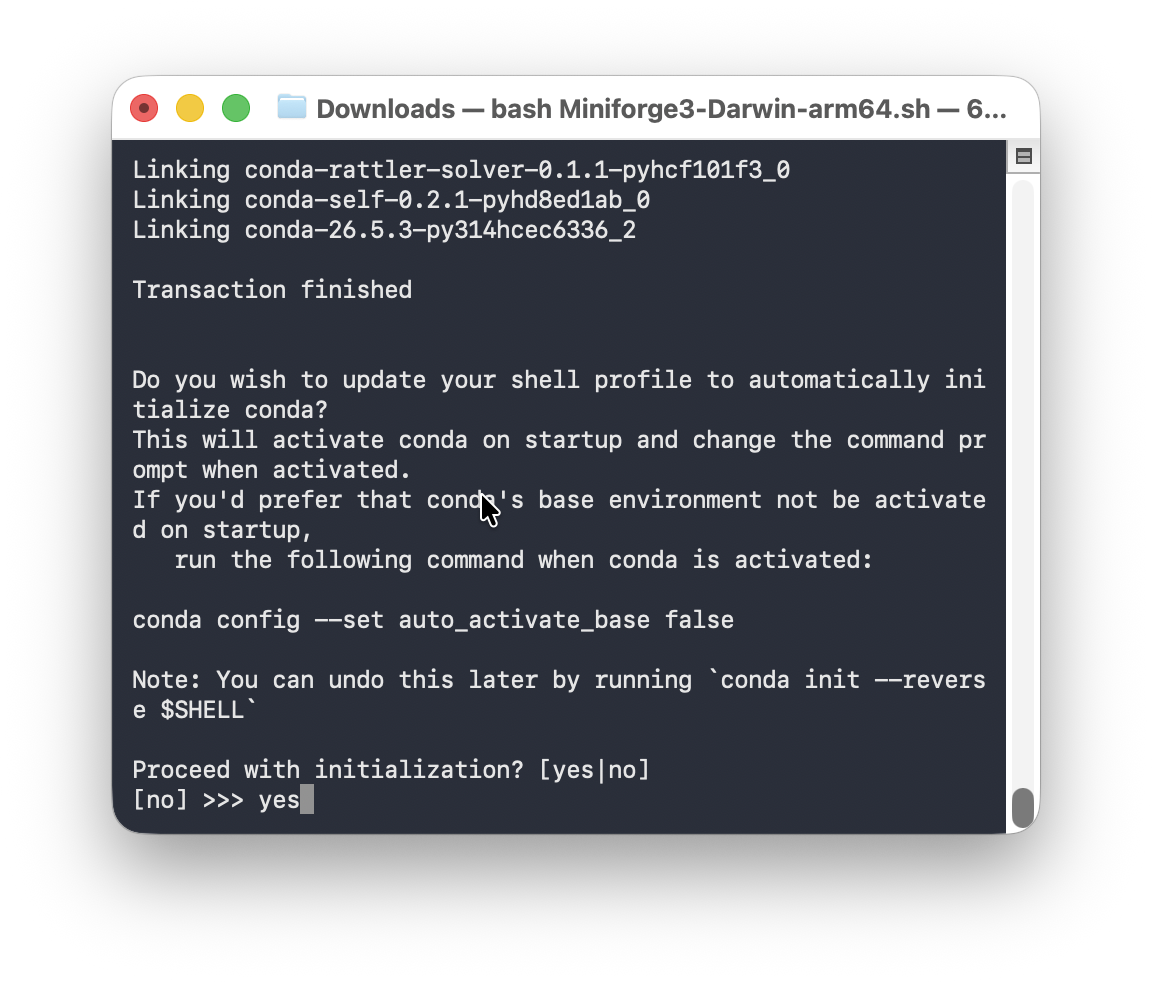
When asked
Do you wish to update your shell profile to automatically initialize conda?, typeyesand press ENTER.
Close and reopen Terminal so that the changes can take effect.
Verifying the installation
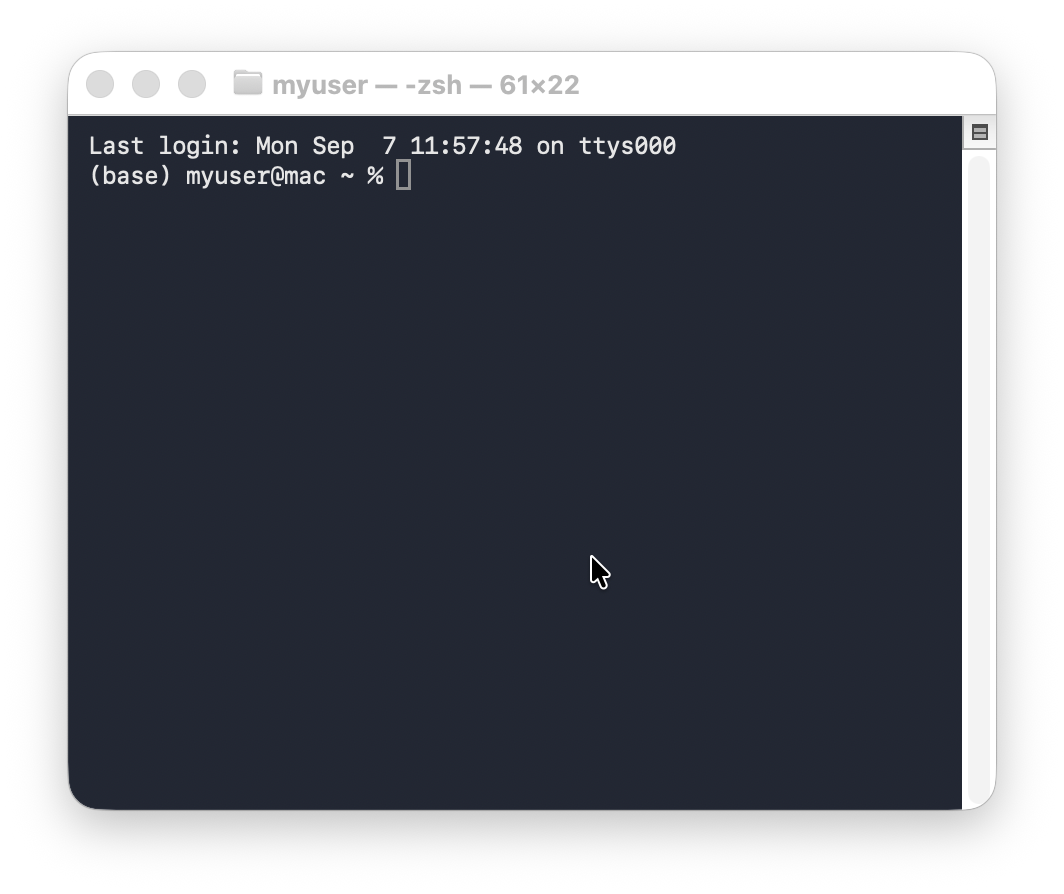
Open a new Terminal window. You should see (base) at the beginning of your prompt:
Finished!
Return back to the Getting Started with Python lesson to continue configuring your computer for Python programming.