Installing Miniforge on Windows
Miniforge is a lightweight Python distribution available for all operating systems. It is free to use, requires a minimal amount of software setup, and has a community-driven package repository.
Installation
Visit the conda-forge website and click on the “Download Installer” button.

Select the Windows installer option.

Click the
Next >button once the installer is open.
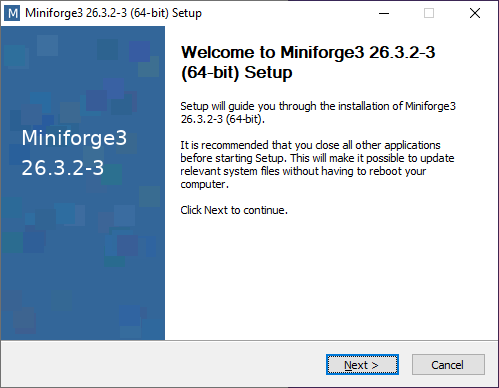
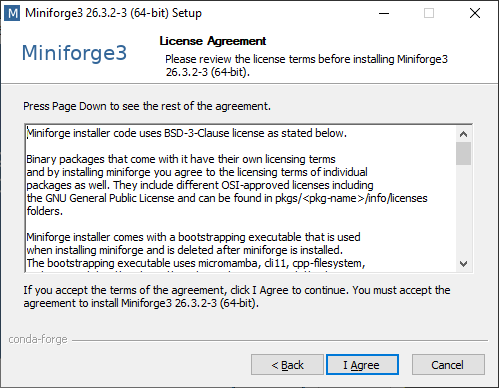
Click the
I Agreebutton on the “License Agreement” screen.
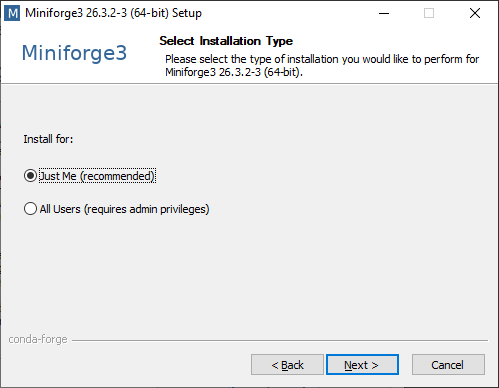
Make sure
Just Me (recommended)is selected on the “Select Installation Type” screen. Then click theNext >button.
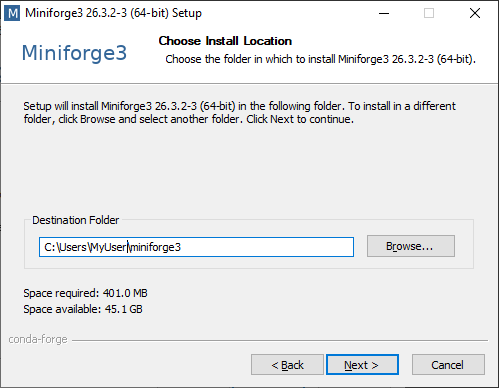
Leave the default location and click
Next >on the “Choose Install Location” screen.
Ensure
Register Miniforge3 as my default Pythonis checked on the “Advanced Installation Options” screen. Then click “Install”.
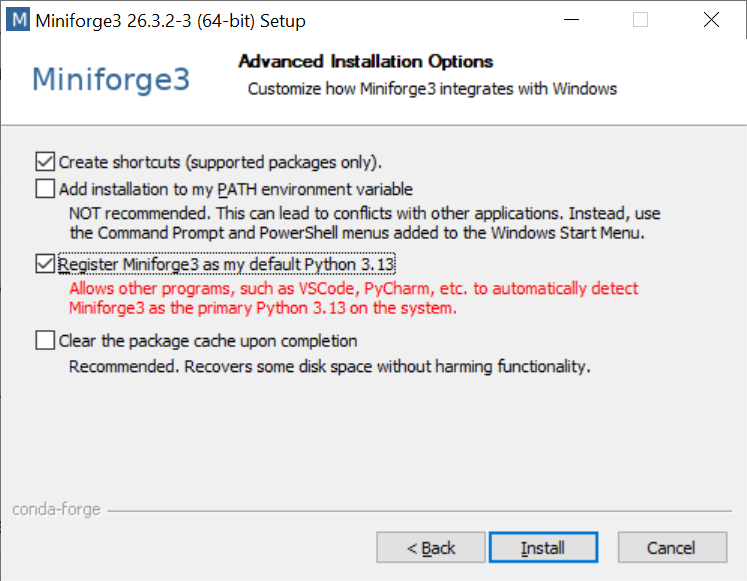
Wait for the installation to complete. This may take a few minutes.

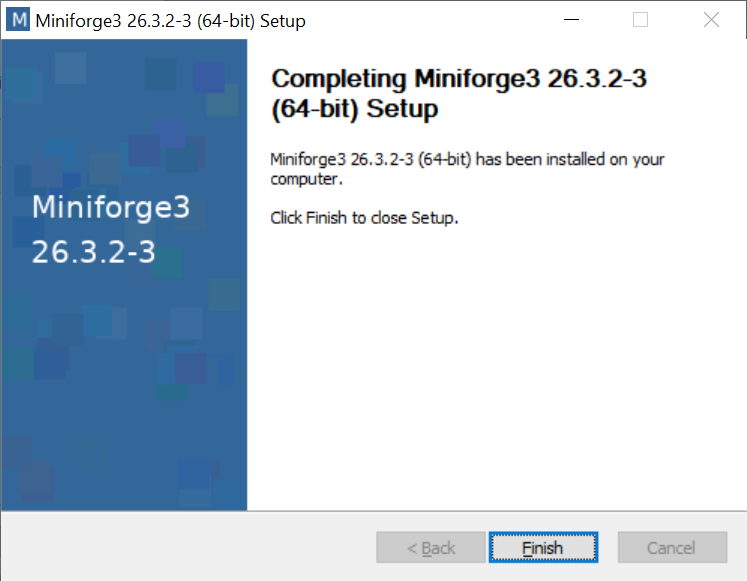
Click “Finish” to close the installer.
Verifying the installation
Open the Start Menu and type
Miniforge Prompt. Click on it to open the Miniforge terminal.
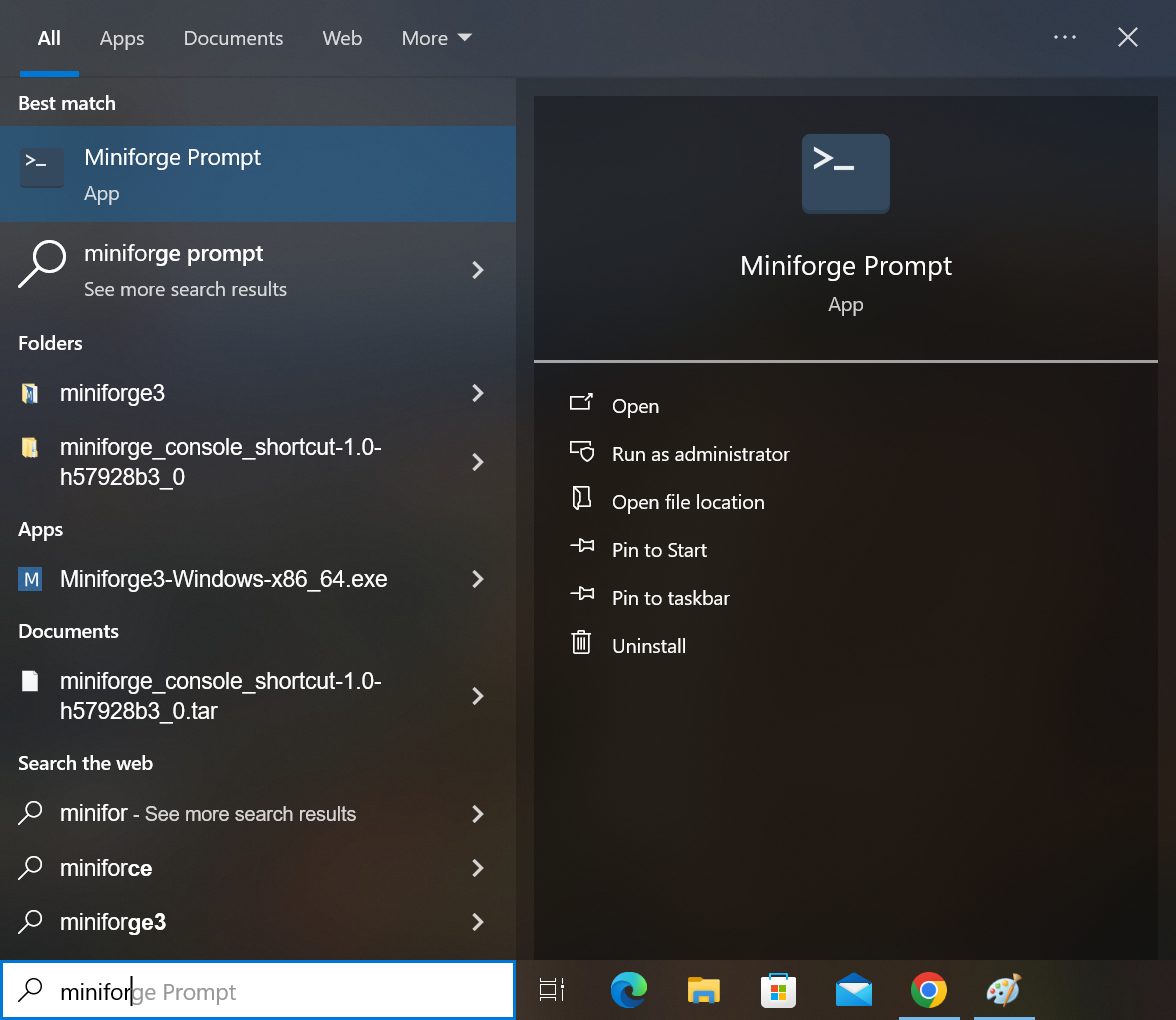
You should see a prompt like:
(base) C:\Users\YourName>Finished!
Return back to the Getting Started with Python lesson to continue configuring your computer for Python programming.